Free Mixing and Mastering Plugins: What a Free Toolkit Needs
By the end you will know which eight kinds of plugin cover a complete mix and master, what separates a useful free tool from clutter, and how to keep a session stable as the plugin folder grows.
By Delia Marchbanks, in Computer & Interface
Free plugins are easy to collect and hard to use well. A folder with two hundred installers looks like a studio, yet most finished mixes rely on a handful of processors used with care. The useful question is not which free plugins exist, since that list changes every year, but which jobs a toolkit has to cover and what a tool needs to do each job reliably.
This guide sorts the toolkit by type, explains what to look for in each, and covers the technical side: formats, CPU load and stability. No product list, no download links, only the criteria.
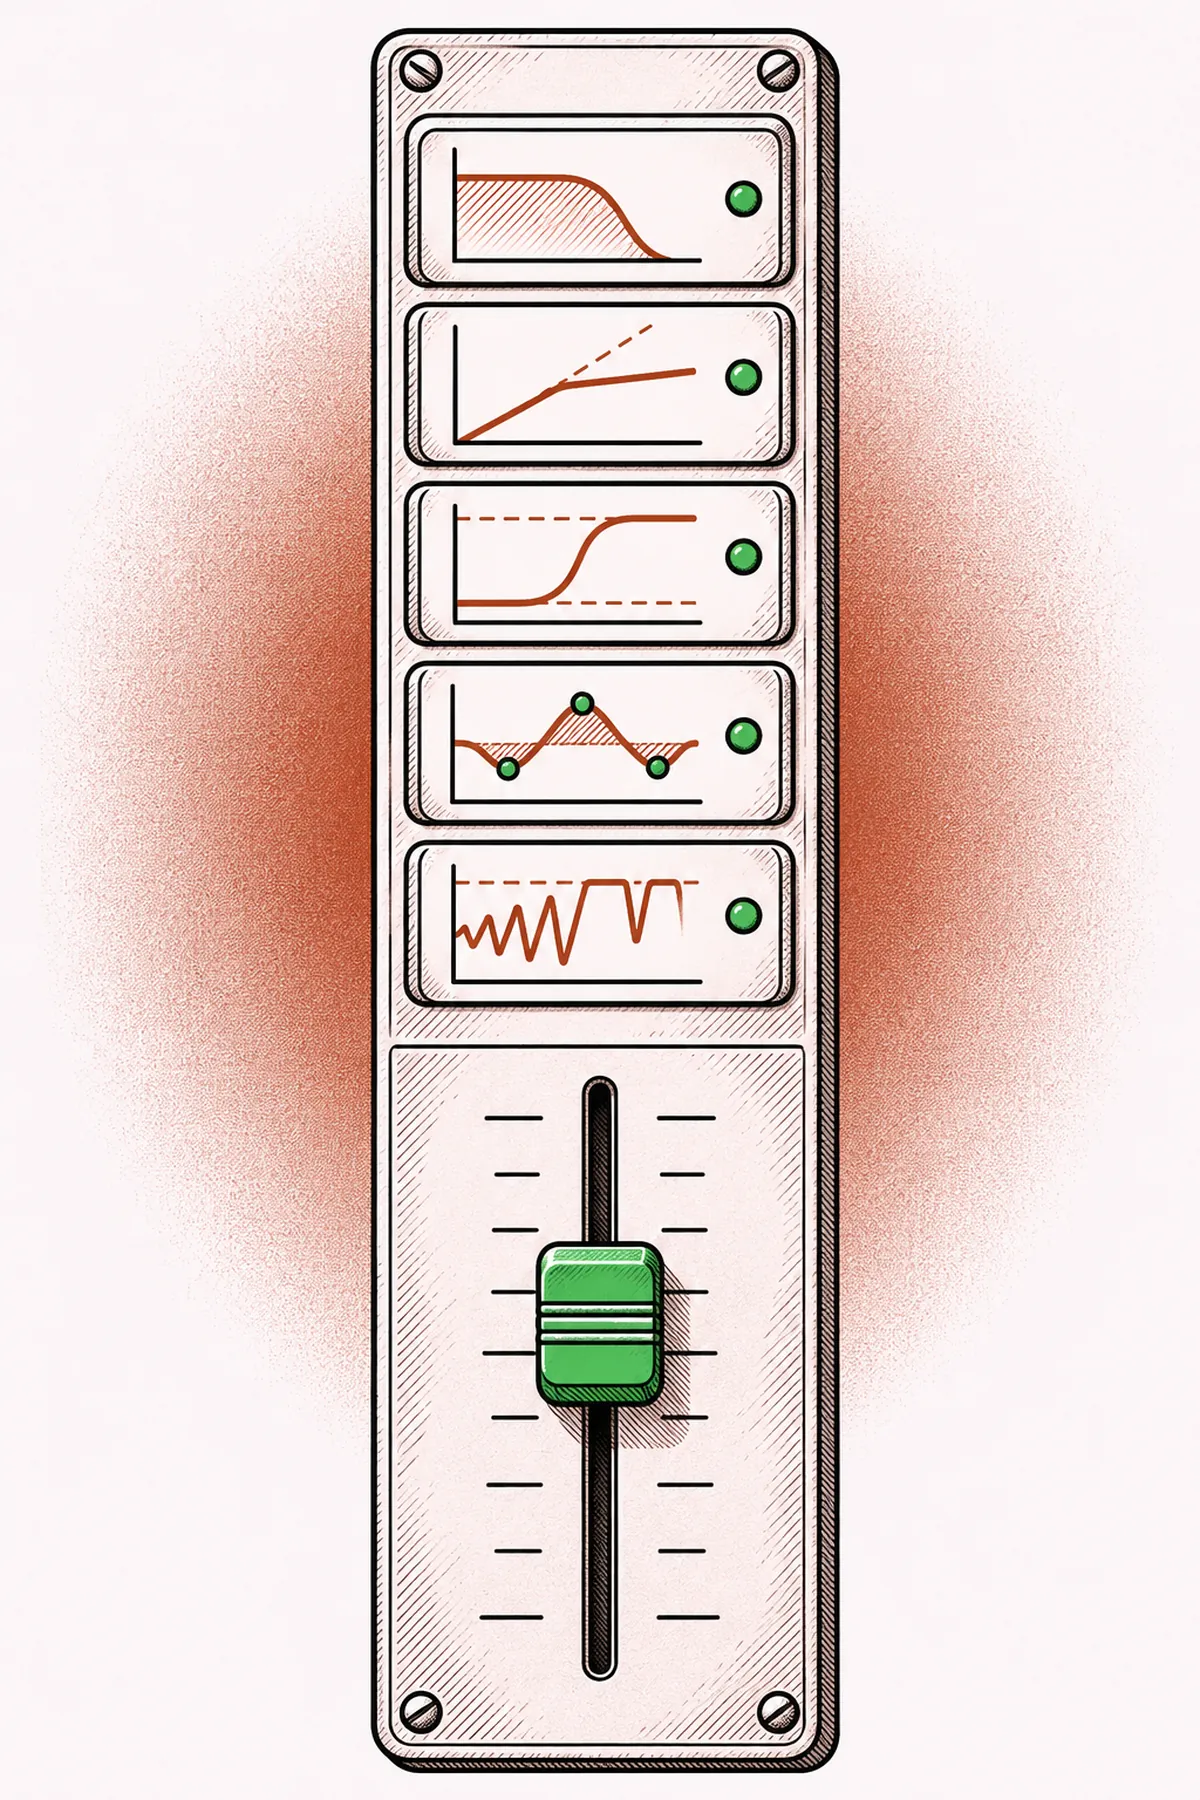
Start with what the DAW already includes
Every current DAW ships with an EQ, a compressor, a limiter, a reverb, a delay and some kind of meter. These stock plugins are often dismissed, and that is a mistake. They are written by the same team that wrote the host, so they load fast, report latency correctly, save and recall without surprises, and survive operating system updates alongside the DAW itself.
A practical rule: before adding any third-party plugin, finish two or three mixes with stock tools only. You will learn what you actually miss. Maybe the stock compressor has no sidechain filter, or the meter does not show LUFS. That gap becomes a precise reason to look elsewhere, instead of a vague feeling that free tools from other developers must sound better.
Stock tools also keep sessions portable. A project built on them opens on any machine running the same DAW, which matters when you move between a desktop and a laptop or send a session to someone else.
The eight types a toolkit needs
A complete mixing and mastering kit, free or not, covers these jobs.
| Type | Main job | Key feature to look for |
|---|---|---|
| EQ | Tone shaping and cleanup | Filters with slope choice, gain-matched output |
| Compressor | Level control, shape | Attack and release range, sidechain filter |
| Limiter | Peak ceiling on the master | True peak mode, oversampling |
| Meter | Level and loudness readout | LUFS integrated, short-term, true peak |
| Analyzer | Frequency view | Adjustable slope and averaging |
| Reverb | Space and depth | Pre-delay, decay, EQ on the tail |
| Delay | Echo, width, throws | Tempo sync, filters in the feedback |
| Saturation | Density, harmonics | Clean output trim, mix knob |
Two of each is plenty. One clean, precise version and one with more character covers nearly every situation.
EQ
A mixing EQ needs at least a high-pass and a low-pass filter with selectable slopes (12, 18 or 24 dB per octave), two shelves and three or four bells. A display of the curve over a live spectrum helps when cutting resonances. An output gain control, or an auto gain option, matters more than it seems: a boosted signal sounds louder and therefore better, so you need to level-match to judge a move honestly. The guide on EQ in context explains why.
For mastering, look for fine gain steps (0.1 dB), stereo linking and ideally a mid-side mode.
Compressor
Check that attack goes down to 1 ms or lower and release reaches at least 1 second, that ratio covers 1.5:1 to 10:1 or more, and that there is a gain reduction meter you can read at a glance. A high-pass filter on the detector, often labeled sidechain HPF, keeps the low end from pumping the whole signal on drum and mix bus duties. A mix knob saves you from building parallel routing by hand. To understand which circuit flavor suits which source, see the compressor types guide.
Limiter
The master limiter is where weak free tools show. Look for a ceiling control in tenths of a decibel, a true peak option, a choice of release or a program-dependent mode, and oversampling. A good limiter takes 2 to 3 dB of peaks off a dense mix without audible distortion; a poor one starts crunching on the kick well before that.
Meter
A loudness meter should read integrated LUFS over the whole song, short-term LUFS over about 3 seconds, momentary LUFS and true peak. A loudness range readout is a bonus. Without these numbers you cannot compare a master with a reference at matched loudness or see how far a platform will turn it down. The guide on getting mixes louder explains how normalization changes the goal.
Analyzer
A spectrum analyzer is a second opinion, not a judge. Useful settings are a slope around 3 to 4.5 dB per octave so a balanced mix looks roughly flat, slow averaging to see the long-term shape, and a peak hold. Some analyzers also show a correlation meter or a goniometer for stereo, which helps catch phase trouble before it reaches mono playback.
Reverb
A free reverb is worth keeping if it offers pre-delay, decay time, damping or high-cut on the tail, and a low-cut on the input or output. Algorithmic reverbs are lighter on CPU; convolution reverbs load impulse responses and can sound very real, at a higher load for long tails. See reverb types explained for when to use a plate, a room or a hall.
Delay
Tempo sync, a feedback control, and a filter inside the feedback loop are the essentials. Ping-pong and a ducking option are welcome. A delay whose repeats get darker each time sits behind a vocal far more easily than one that repeats a bright copy.
Saturation
Saturation adds harmonics so bass and drums read on small speakers. The must-have is an output trim, or automatic level compensation, because saturators make things louder and fool the ear. A mix knob is the second requirement. Oversampling helps when driving hard.
Formats: VST3, AU and AAX
Plugin format decides whether a tool loads at all.
- VST3 is the common format on Windows and also widely supported on macOS.
- AU is the native macOS format, required by Logic.
- AAX is the only format Pro Tools accepts.
- CLAP is a newer open format supported by a growing number of hosts.
Older free plugins often exist only as VST2 or as 32-bit builds. Many current hosts no longer load 32-bit plugins at all, and some have dropped VST2. Bridging tools exist, but each bridge is a layer that can crash or report latency wrongly. If a plugin has not been updated in many years and only ships in old formats, treat it as unsupported.
On macOS, check that the plugin runs natively on the processor architecture of your machine. Running under a translation layer works but costs CPU and sometimes stability.
CPU, latency and stability
A free plugin can be expensive in other ways. Before keeping one, load it in a session you know well and watch three things.
- CPU load. Open the DAW performance meter, play the session, then add the plugin on a few tracks. A reverb or a saturator with heavy oversampling can take more CPU than a whole stock chain.
- Reported latency. Some plugins add delay, especially linear phase EQs, lookahead limiters and oversampled processors. The DAW compensates only if the plugin reports its latency honestly. Record a click through it and compare against the dry track; any offset means trouble. The buffer and latency guide explains delay compensation.
- Recall. Save the session, close it, reopen it. Every parameter should come back exactly. Plugins that forget settings or reset on reload will cost you a mix one day.
Crashes deserve zero tolerance. A host that crashes during a session usually saves an autosave, but losing an hour of mix moves to a free plugin is a bad trade. Some DAWs can run plugins in a sandbox, so a crash kills only that plugin. If yours offers this, turn it on while you evaluate new tools.
Keeping the plugin folder under control
Plugin scans slow down with every installer, and long menus slow down decisions. A few habits keep the toolkit small.
- Keep a written list of what each plugin is for. If two do the same job, delete one.
- Install only the formats your DAW uses. A Logic user does not need the VST3 and AAX copies.
- Use the DAW's plugin manager to hide tools you rarely use, or build a favorites folder with the eight types above.
- Archive the installers of everything you keep, with version numbers. Free plugins disappear from developers' sites, and an old session will need the exact plugin to open correctly.
- Bounce or freeze tracks that depend on fragile plugins once a part is final.
Registration and licensing matter even for free tools. Some ask for an account and an authorization step, others run a small background helper. Check that the plugin still works offline if the recording computer is not always connected.
A minimal chain for a first master
With the toolkit in place, a simple mastering chain on a finished mix looks like this, in order:
- A trim or utility plugin to set the input around -18 to -14 LUFS short-term on the loudest section, leaving room for processing.
- A gentle EQ: broad moves of 0.5 to 1.5 dB, a high-pass around 20 to 30 Hz only if there is useless rumble.
- A compressor at a low ratio (1.5:1 to 2:1), slow attack around 30 ms, auto or medium release, 1 to 2 dB of gain reduction.
- A limiter with true peak on, ceiling at -1 dBTP.
- A loudness meter last, reading the final output.
Compare each stage with bypass at matched loudness. If a stage does not clearly help, remove it. The full process, including preparing the mix and delivery files, is in the home mastering guide.
Quick answers
Are free plugins good enough for a finished release?
Yes, for most jobs. EQ, compression, reverb and metering are mature, and the skill of the person using them matters far more than the tool. The limiter is the one place where it pays to compare several options carefully.
How many plugins does a home studio really need?
One or two per type across eight types, so roughly ten to sixteen. Beyond that, extra plugins mostly add scan time and decision fatigue.
Should a 32-bit plugin still be used?
Only through a bridge, and only if nothing else does the job. Bridges add a point of failure, and many current hosts have stopped supporting them.
Why does a free plugin make the whole session crackle?
It is probably heavy on CPU or adding latency the DAW has to compensate. Raise the buffer while mixing, check for an oversampling setting you can lower, or bounce the track once the part is final.