Mastering at Home: Preparing, Processing and Delivering a Track
After reading, you will be able to prepare a mix for mastering, build a short and careful processing chain, aim for sensible loudness and true peak values, and export the files a release needs.
By Delia Marchbanks, in Mastering
Mastering is the last creative step before a song leaves your hands as a finished file, and also the first step of delivery. It takes a finished stereo mix and makes small, careful changes so the track sounds balanced next to other releases, plays at a sensible loudness, and survives conversion to streaming formats. At home, with a modest room and a laptop, you can do a solid job of it as long as you keep the moves small and your ears fresh.
The hard part is restraint. Most problems that people try to fix in mastering are mix problems, and the mastering chain is a poor place to solve them. This guide walks through what mastering is for, how to prepare the mix, the order of processors, how far to push loudness, and what to hand over at the end.
What Mastering Is, and What It Is Not
Think of mastering as quality control with a few gentle tone and level tools. The job covers four things:
- Tonal balance: nudging the overall spectrum so the track does not sound dull, harsh, boomy or thin next to good references.
- Dynamics and level: controlling peaks and raising the average level to a reasonable point without flattening the life out of the music.
- Consistency: making several songs feel like they belong together on an EP or album, in tone and in loudness.
- Delivery: exporting the right formats, with clean starts and ends, correct metadata and safe peak levels.
What it is not: a second mix. If the vocal is buried, the snare is too loud or the low end is a mess of kick and bass fighting, go back to the session. A broad EQ boost at 3 kHz to bring the vocal forward will also brighten the cymbals, the guitars and the reverb tails. You fix one thing and break three. A good habit is to run through a mix review checklist before you even open a mastering session.
Preparing the Mix for Mastering
Good mastering starts with a good export. A few rules make the next steps easier and safer.
Leave headroom
Export the mix so the loudest peaks land somewhere around -6 to -3 dBFS. The exact number matters less than one simple condition: nothing on the mix bus should be clipping, and there should be room for EQ boosts without overs. If your mix bus is hitting 0 dBFS, pull the master fader down or, better, lower the channel faders as a group. A guide to gain staging in the DAW covers how to keep levels sane from the first track onward.
Take the limiter off
Many people mix into a limiter so the track sounds loud during the mix. That is fine as a listening aid, but bypass it for the mastering export. A limiter on the mix bus followed by another in the mastering chain stacks distortion and makes it hard to judge what each stage is doing. Mix bus compression for glue can stay if it is part of the sound; just make sure it is not slamming.
Bit depth and sample rate
Export at the session sample rate (44.1, 48 or 96 kHz are all fine) and at 24-bit or 32-bit float. Do not convert to 16-bit or MP3 at this stage. A 32-bit float file cannot clip internally, which is a useful safety net if a peak sneaks over. The reasons behind these choices are explained in the guide on sample rate and bit depth.
Clean edges
Leave a little silence before the first transient and let the final reverb or note ring out completely. Trim and fade in the mastering session, not in the mix export, so you do not cut off a tail by accident.
Setting Up Your Listening
Mastering decisions are small: half a decibel of EQ, a decibel of gain reduction. That means your monitoring has to be trustworthy enough to show differences of that size.
- Listen at a moderate, consistent level. Around 75 to 80 dB SPL at the listening position is a common starting point in a small room. Louder makes everything sound fuller and brighter, which tricks you.
- Load two or three commercial references in the same genre. Match their loudness to your track before comparing, otherwise the louder one always sounds better.
- Check on more than one system: monitors, a decent pair of headphones, a small speaker, a car if you can. Note the problems that show up on every system; ignore quirks that appear on only one.
- Take breaks. Ten minutes away after every half hour or so resets your sense of brightness and bass.
A Sensible Chain Order
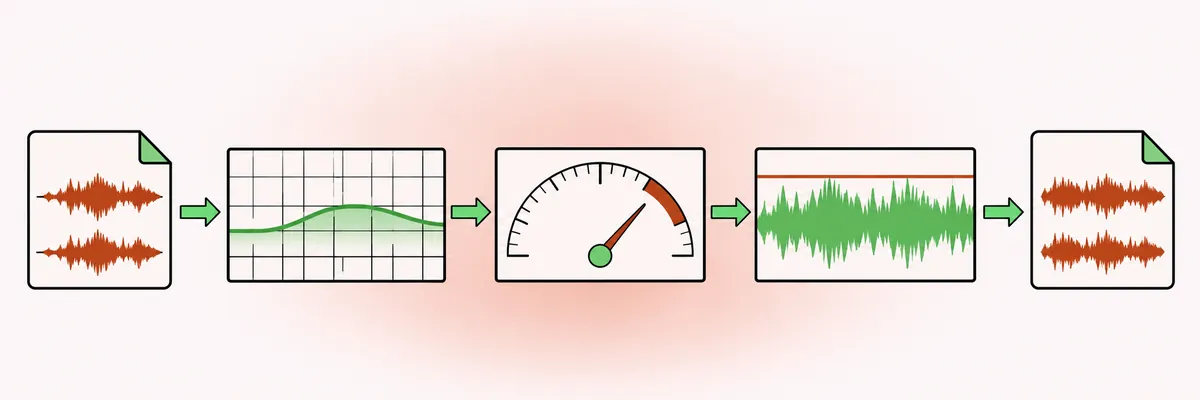
There is no single correct order, but a common, logical starting point looks like this:
- Corrective EQ: remove problems such as a resonance, excess rumble or a harsh area.
- Compression (optional): gentle control of the overall dynamics.
- Tonal EQ: broad shaping, such as a touch of low shelf or high shelf.
- Saturation (optional): small amounts for density.
- Limiter: final peak control and loudness.
- Meters: loudness and true peak, always at the very end.
Some engineers put tonal EQ before the compressor so the compressor reacts to the shaped signal. Others do the reverse. Either is valid; what matters is that you know why each processor is there. If a plugin is not making the track better in an A/B comparison at matched level, remove it.
EQ in Mastering: Small and Broad
Mastering EQ moves are usually between 0.5 and 1.5 dB, with wide bandwidth (Q around 0.5 to 1). A few typical moves:
| Problem | Starting move | Range |
|---|---|---|
| Rumble, subsonic energy | High-pass filter | 20-30 Hz |
| Muddy, thick low mids | Wide cut | 200-400 Hz, -1 dB |
| Harsh, tiring upper mids | Wide cut | 2-5 kHz, -0.5 to -1 dB |
| Dull top end | High shelf boost | 10-16 kHz, +0.5 to +1.5 dB |
Narrow cuts are reserved for a specific ringing resonance you can clearly hear. If you find yourself making a 4 dB move, that is a sign the mix needs attention. For more on shelving at the top end and on how electronic genres handle low frequencies, see the guide on EQ moves for electronic music.
Mid-side EQ can also help: a small low cut on the side channel tightens the bass in mono, and a gentle high shelf on the side adds openness. The guide on mid-side processing explains how to do it without making the stereo image unstable.
Compression: Gentle Glue
Mastering compression, when used at all, should be gentle. Starting points:
- Ratio 1.5:1 to 2:1.
- Threshold set for 1 to 2 dB of gain reduction on the loudest passages.
- Attack slow enough to let transients through, around 10 to 30 ms.
- Release set to the groove, or auto release if the compressor offers it, typically 100 to 300 ms.
The goal is a small sense of cohesion, not obvious pumping. A bus compressor in the SSL style is a popular choice for this job; its fixed ratios and auto release suit gentle glue. If you cannot hear any improvement, leave the compressor out. Plenty of well mastered records rely on EQ and a limiter alone.
Limiting and True Peak
The limiter is where most of the loudness comes from. It catches peaks so the average level can rise. Push it gradually: 1 to 3 dB of gain reduction on the peaks usually stays clean; beyond 4 to 6 dB, most material starts to lose punch and the transients soften.
Set the output ceiling to about -1 dBTP (decibels true peak). True peak readings account for the peaks that form between samples when the signal is reconstructed, which ordinary sample peak meters miss. Lossy codecs used by streaming services can also add a little overshoot, so that 1 dB of margin protects against distortion after conversion. For dense, loud masters, some engineers go to -1.5 or -2 dBTP. The details of lookahead, release and oversampling are covered in limiters and true peak.
Loudness Targets as Ranges
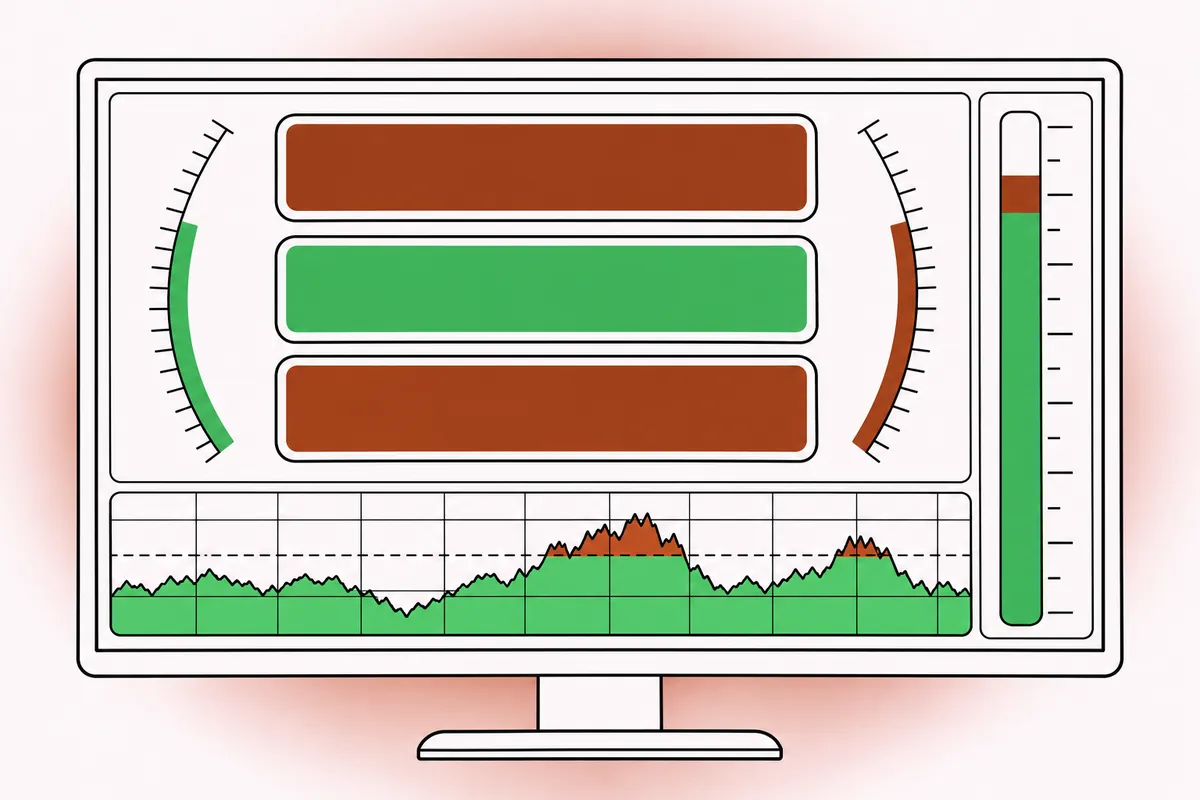
Loudness is expressed in LUFS (loudness units relative to full scale). The integrated value describes the whole track; short-term shows a three-second window, useful for the loudest chorus.
Major streaming platforms normalize playback, which means a louder master gets turned down to roughly the same playback level as a quieter one. Reference levels sit around -14 LUFS integrated for several services, with some a little quieter or louder. Prudent ranges by genre:
- Acoustic, jazz, classical: around -18 to -14 LUFS integrated.
- Pop, rock, singer-songwriter: around -14 to -10 LUFS integrated.
- Dense electronic, hip hop, metal: often -10 to -7 LUFS integrated.
There is no prize for crushing a track to -6 LUFS if it will be turned down anyway; it will simply sound flatter than a more dynamic master at the same playback level. On the other hand, a quiet master at -20 LUFS can sound weak on platforms that do not turn quiet tracks up. Aim for a level that fits the genre and keeps the transients alive. The guide on getting mixes louder goes further into perceived loudness and crest factor.
Mastering Several Songs: Sequencing
For an EP or album, master the songs one by one, then listen to them in order. Things to check:
- Relative loudness: a ballad should feel softer than the single, but not so much quieter that the listener reaches for the volume. Matching integrated loudness exactly is not the goal; matching how loud each song feels in context is.
- Tone: if one track is clearly brighter or darker than the rest, adjust it toward the group.
- Gaps: two seconds between tracks is a traditional default. Shorten it for songs that flow into each other, lengthen it after an emotional closer.
- Fades: check that fade outs are smooth and that no track starts with a click.
Deliverables
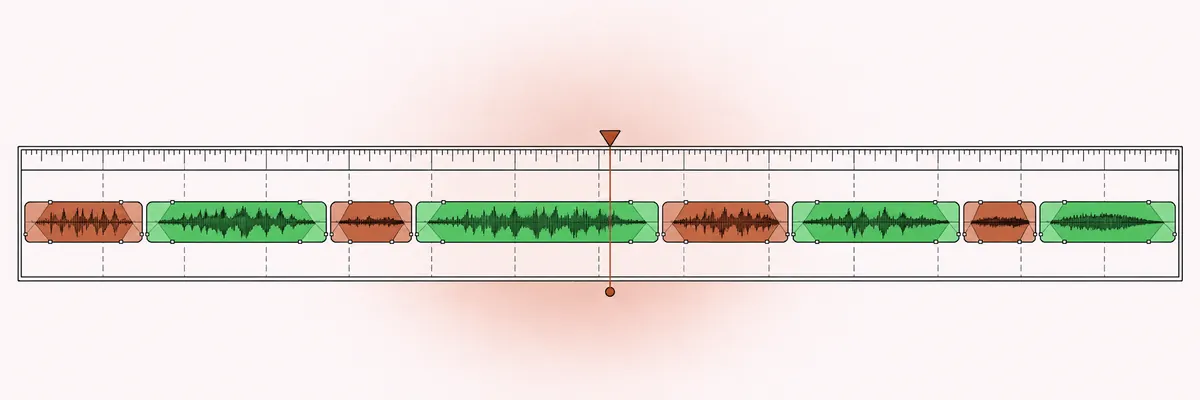
What you export depends on where the music goes. A typical set:
- Streaming and digital distribution: 24-bit WAV at 44.1 or 48 kHz, ceiling around -1 dBTP. Many distributors accept 16-bit 44.1 kHz too; if you reduce to 16-bit, apply dither once, as the very last step.
- CD: 16-bit, 44.1 kHz WAV with dither, plus a disc image or a sequenced file if the plant asks for one.
- Vinyl: often a separate, less limited master with controlled sibilance and mono low end, at a level the cutting engineer requests.
- Metadata: song titles, artist name, ISRC codes if you have them, and correct spelling everywhere.
Name files clearly, for example "01_SongTitle_Master_24-48.wav", and keep a copy of the unmastered mix exports. If you revisit a master later, start again from the mix, never from a previous master.
Common Home Mastering Mistakes
- Judging changes without matching loudness. Every limiter sounds good if it makes the track louder.
- Too many plugins. Each one adds a little phase shift, noise or distortion. Fewer, purposeful stages sound cleaner.
- Mastering on the same day as the mix. Your ears are tuned to the mix's flaws and blind to them at once.
- Chasing a number on the meter rather than the sound.
- Forgetting to check in mono, where phase problems and excessive stereo width show up.
Quick answers
Is it fine to master your own mix?
Yes, as long as you take a break of at least a day between mixing and mastering and compare against loudness-matched references. A fresh perspective is the main advantage a separate mastering stage brings.
How much headroom should a mix have before mastering?
Peaks around -6 to -3 dBFS, with no limiter on the mix bus, is a comfortable starting point. The key condition is no clipping anywhere.
What loudness should I aim for?
Treat around -14 LUFS integrated as a reference for streaming, and adjust by genre: quieter for acoustic music, louder for dense electronic styles. Keep the true peak ceiling around -1 dBTP.
Should I use a mastering compressor?
Only if it improves the track in a level-matched comparison. One or two decibels of gain reduction at a low ratio is a typical starting point.