How to Approach a Remix From Stems: Tempo, Key and Arrangement
By the end of this guide you will be able to load a set of stems, lock them to a grid, pick the parts worth keeping and build a remix arrangement that stands on its own.
By Delia Marchbanks, in Mixing
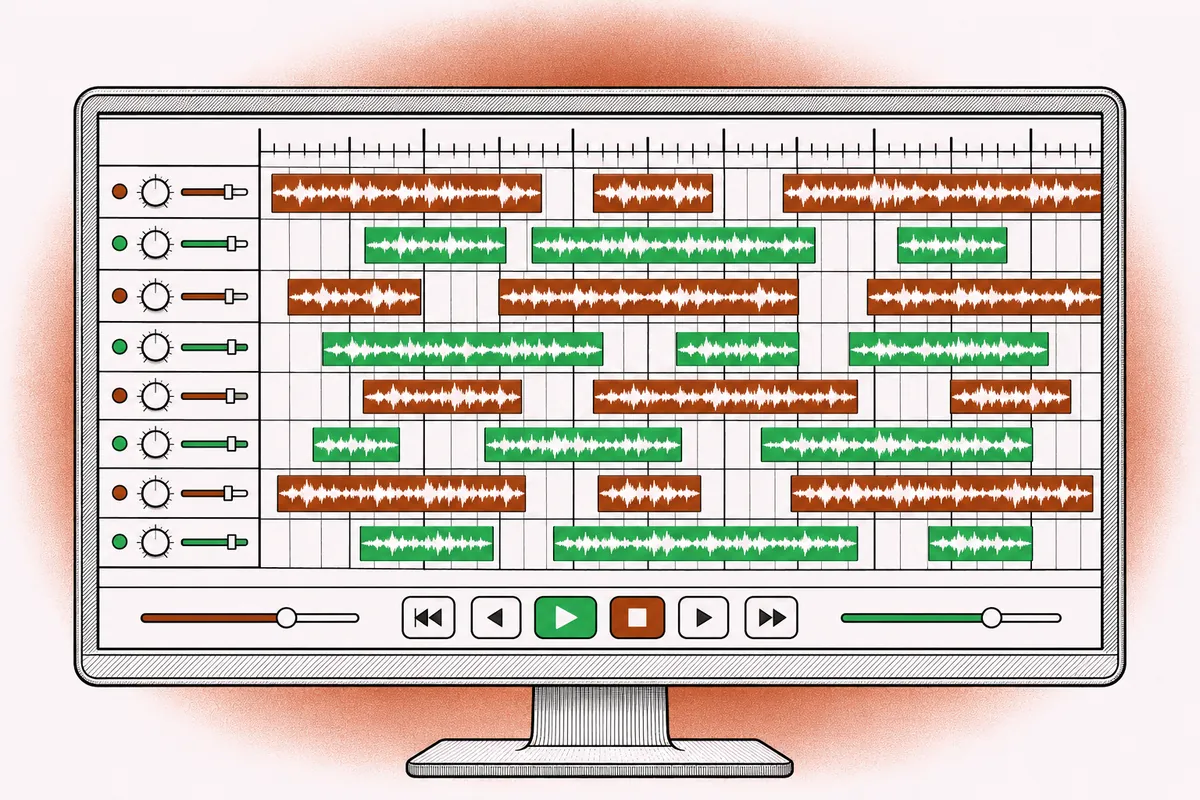
A stem pack is a song taken apart into a handful of stereo files: drums, bass, music, lead vocal, backing vocals, sometimes effects. Each file runs the full length of the track, starts at the same point and lines up with the others when they all play together. That structure is what makes remixing possible, and it is also what makes a lazy remix so easy to spot. Drop the stems on a grid, add a new kick and you have a louder version of the original, not a remix.
The work splits into two halves. The first is technical: confirm the tempo and key, get every stem locked to the grid and clean up what you plan to keep. The second is creative: decide what the remix is about, throw away most of the source and build a new structure around the few elements that carry the identity of the song. This guide walks through both, plus the permission question you need to settle before anything leaves your computer.
Before you open the DAW: permission
Stems belong to someone. The recording is owned by a label or the artist, the composition by the songwriters and their publishers, and having the files on your drive grants you nothing on its own. Three common situations:
- Stems released by the artist for remixing. Read the terms that come with them. Many allow personal use and sharing on certain platforms but forbid commercial release, or ask you to submit the result rather than publish it.
- Stems provided as part of a remix competition run by a label or artist. These are normally licensed for that competition only. Entering is permitted; releasing the remix elsewhere, selling it or uploading it to a streaming service usually is not, unless the organizer later signs it.
- Stems found or extracted without any license. You can practice with them privately. Publishing the result is a different matter and needs explicit permission from the rights holders.
The safe habit is simple: get written permission before you distribute anything, keep the license text with the project folder, and credit the original artist the way the terms ask. None of this replaces advice from someone who handles music rights, but it keeps you out of the most frequent trouble, which is a takedown on a remix you spent weeks on.
Find the tempo and the key
Most stem packs include the original tempo in the file name or a text file. If not, your DAW can usually detect it, but treat the number as a suggestion. Detection algorithms often return half or double the real value, so a song at 87 BPM can show up as 174, and a track with swing or live drums can come back as a decimal like 121.37.
A quick way to confirm: set the project tempo, turn on the click, play the drum stem from a downbeat and listen over 32 bars. If the click drifts against the kick, the tempo is wrong or the original was played without a click. A song recorded to a click holds steady for the whole length. A song played freely drifts by a few milliseconds per bar, which adds up to an obvious flam by the second chorus.
For key, solo the bass stem and the music stem and find the root note that feels like home at the end of a phrase. A pitch-detection plugin or a tuner on the bass helps. Write down the key and the main chord loop, for example A minor with a four-chord cycle of Am, F, C, G. You will need this when you write new parts.
Tempo targets for a remix
Many remixes move the song into a different genre and tempo. Changing tempo by a small amount, 5 to 10 percent, is usually transparent on drums and music stems. Larger changes are possible, but vocals start to reveal artifacts. Some useful reference points:
| Change | Typical effect | Vocal result |
|---|---|---|
| Up to about 8 % | Hard to hear | Natural |
| 8 to 20 % | Noticeable on long notes | Slightly smeared |
| Half or double time | Feel changes, pitch untouched | Natural if the grid is clean |
Half-time and double-time tricks are often better than an awkward stretch. A vocal at 128 BPM sits naturally over a 64 BPM half-time beat, or a 170 BPM drum and bass groove can be built around a vocal recorded at 85.
Warping the stems cleanly
Warping, also called elastic audio or flex time depending on the DAW, stretches audio to follow the project grid. When the original was recorded to a click and you keep the same tempo, you might not need any warping at all: align the start, check a few bars and move on. When the tempo changes, or the original drifts, you need markers.
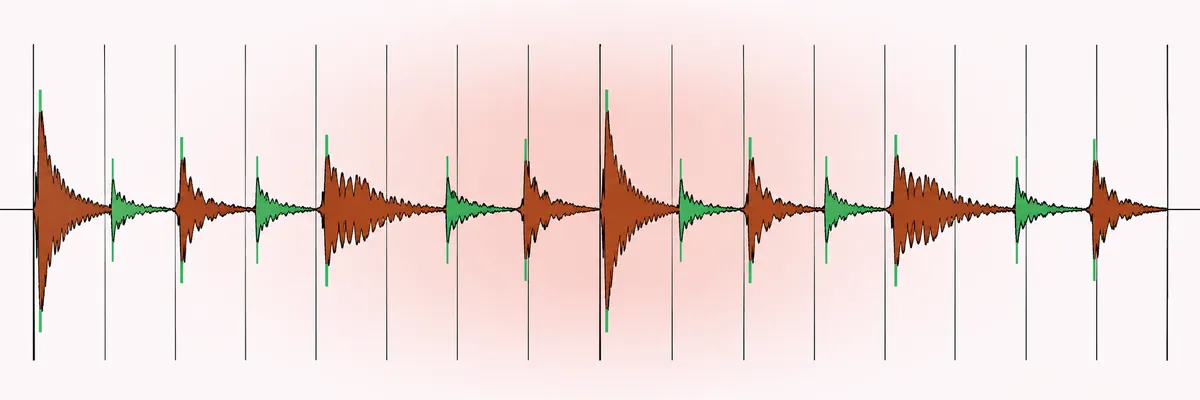
Start with the drum stem, because its transients are easy to see. Place a marker on the first downbeat, then on every bar or every beat where the drums drift from the grid. Once the drums are locked, copy the same marker positions to the other stems if your DAW allows it, so every file bends the same way.
Choose the stretching algorithm by material:
- Transient or beat mode for drums and percussion. It preserves attacks and slices between hits.
- Tonal or polyphonic mode for pads, keys and full music stems. It keeps sustained notes smooth.
- Monophonic or formant-aware mode for vocals and bass. It handles a single pitched line and keeps the voice from sounding hollow.
Listen to the result with the original tempo stem muted and the click on. Watch for doubled transients on hi-hats, a warbling tail on long vocal notes and small timing shifts at the start of each phrase. If a section refuses to stretch cleanly, try rendering it to a new file at a slightly different setting rather than piling on more markers.
Changing the key
Pitch shifting the vocal by one or two semitones usually works. Beyond three semitones, most voices start to sound unnatural unless formants are preserved. If the new harmony requires a big shift, consider writing the new chords around the original key instead. Remember that any pitch change on the vocal needs the same change on every pitched stem you keep, or the song falls out of tune with itself.
Deciding which stems to keep
This is where a remix gets its character. The lead vocal is usually the anchor, since it carries the melody and the lyrics that make the song recognizable. Beyond that, keep as little as you can. A few common strategies:
- Vocal only. Everything else is new. This is the classic club remix approach and gives you full freedom over chords and groove.
- Vocal plus one signature element. A guitar riff, a synth hook or a distinctive drum fill reappears in the new context, often filtered or chopped.
- Rearranged original. Most stems stay, but the structure, tempo and groove change. This works for acoustic or stripped-down versions.
Listen to each stem soloed from start to finish before deciding. You will often find usable fragments that disappear in the full mix: an ad-lib in a backing vocal, a single strum, a breath before a chorus. Mark them with region colors so you can find them later.
Cleaning what you keep
Stems are mixed versions of each part, so they carry the original reverb, delay and compression. A lead vocal stem with a long hall reverb can clash with a tight, dry new production. You have a few options. Use a gate or manual editing to trim tails between phrases. Use a de-reverb tool sparingly, because heavy settings make the voice sound processed. Or embrace the reverb and build around it with sparser parts.
Check for bleed too. Backing vocals sometimes contain faint lead, and music stems can hold a click bleed from a headphone mix. Notch out or edit any obvious leaks, then gain stage each stem so the peaks sit around -10 to -6 dBFS before any processing.
Sketching the new arrangement
Do not start by producing a four-bar loop for two hours. Start by sketching the structure on paper or in empty DAW regions, then fill it in. A rough map keeps you from building a great intro that leads nowhere.
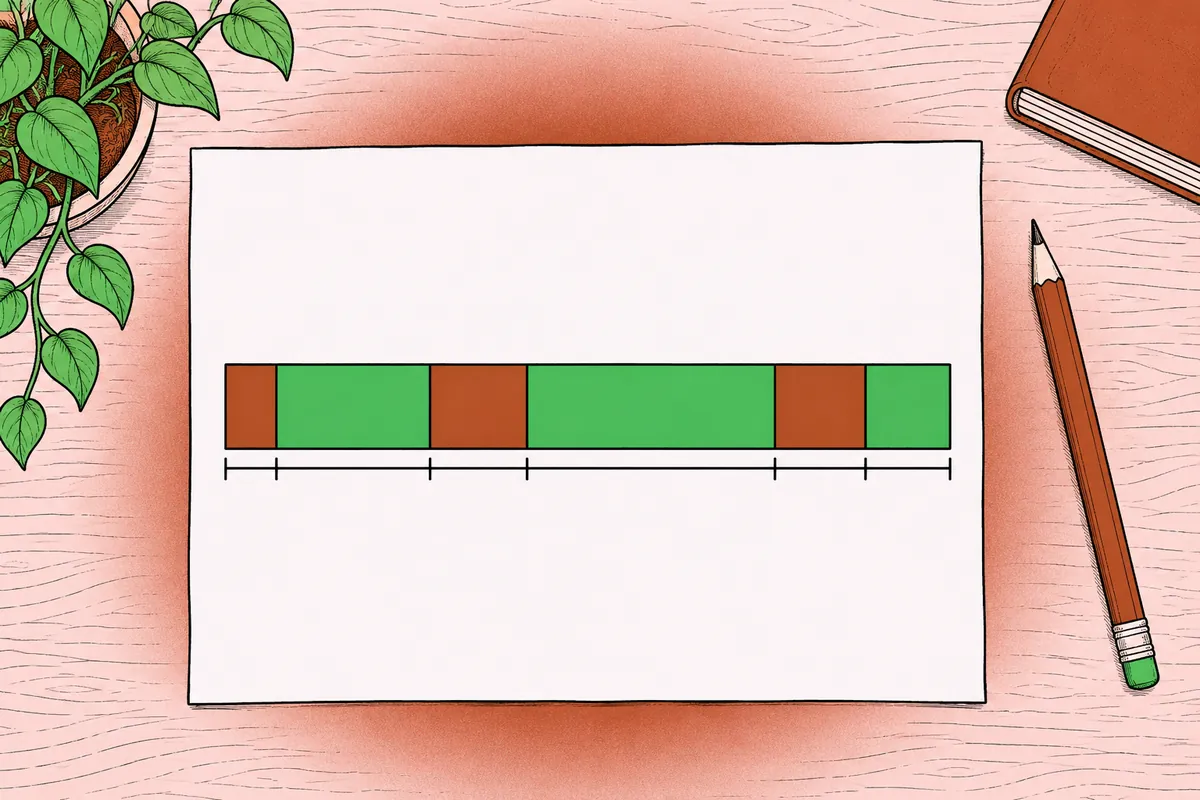
A starting structure for a dance remix, in bars at 4/4:
- Intro, 16 bars: drums and a filtered hint of the hook, easy for a DJ to mix in.
- Verse, 16 bars: first vocal phrase over a stripped groove.
- Build, 8 bars: rising energy, the chorus vocal teased.
- Drop or chorus, 16 bars: the main hook with full drums and bass.
- Break, 16 bars: vocal with pads, no kick.
- Second build and drop, 8 plus 16 bars.
- Outro, 16 bars: drums only, again friendly to DJs.
Pop and acoustic remixes can follow the original song form more closely, often trimming a verse or doubling a chorus. Whatever the genre, you are free to move vocal phrases around. Chorus lines can appear in the intro as a teaser, a verse can be cut entirely, and a single word can become a rhythmic hook through chopping.
Writing new parts around the vocal
Once the vocal sits in its new place, write the bass and chords against it. Play the vocal alone and hum a bass line; the vocal melody often suggests a different chord movement than the original. Reharmonizing, for instance moving a major-key chorus over minor chords, can change the mood of the whole song with the same vocal.
Keep the new drums distinct from the original groove. If the source has a straight four-on-the-floor kick, consider a broken beat or a half-time groove. A kick that fits the new bass matters more than the specific sample.
Mixing the remix
Treat the remix as a new mix rather than a patch on the old one. The vocal stem was mixed against different instruments, so it often needs EQ to fit. A common move is a high-pass around 100 to 150 Hz and a gentle cut in the 250 to 400 Hz area if the new production is dense in the low mids. Add a short reverb type that suits the new space and tempo-synced delays, and lean on delay throws on the last word of a phrase to create movement in breaks.
Stems from a finished master can be dense and loud. Pull their faders down rather than limiting them further, and leave headroom on your mix bus so the new elements have room. When the remix is close to done, compare it at matched loudness with the original and with other remixes in the same genre, then run through a mix review checklist before you bounce.
Delivery and credits
Export a final file at the sample rate and bit depth the destination asks for, commonly 44.1 or 48 kHz at 24-bit WAV. Name it clearly: artist, title, remix name. Keep a project folder with the stems, your session, the license or permission text and notes on tempo and key. If permission covers only a competition, submit through the official channel and keep the file private otherwise.
Quick answers
Can I release a remix made from official stems?
Only if the license that came with the stems allows it, or if the rights holders give written permission. Competition stems are usually licensed for that competition only.
What tempo should my remix be?
Whatever suits the genre, as long as the vocal survives the stretch. Shifts up to about 8 % are usually transparent, and half-time or double-time moves avoid heavy stretching.
Do I need every stem in the pack?
No. Most strong remixes keep the lead vocal and one signature element at most, and build everything else new.
How do I remove the reverb baked into a vocal stem?
Trim tails with editing or a gate between phrases, and use de-reverb tools lightly. Heavy settings make the voice sound thin and processed.