Five Vital Things to Do Before You Start a New Mixing Project
Before you reach for EQ or compression, five simple preparations make every later decision faster and more reliable. This guide shows how to set up a session so the mix starts on solid ground.
By Delia Marchbanks, in Mixing
The first hour of a mix decides a lot. If the session is messy, levels are random and you have nothing to compare against, every later choice takes longer and is harder to trust. If the groundwork is done, EQ and compression become small refinements rather than rescue operations.
These five preparations take thirty to sixty minutes on a typical song. They apply whether you recorded the song yourself or received a folder of stems from someone else.
1. Organize, Name and Color the Session
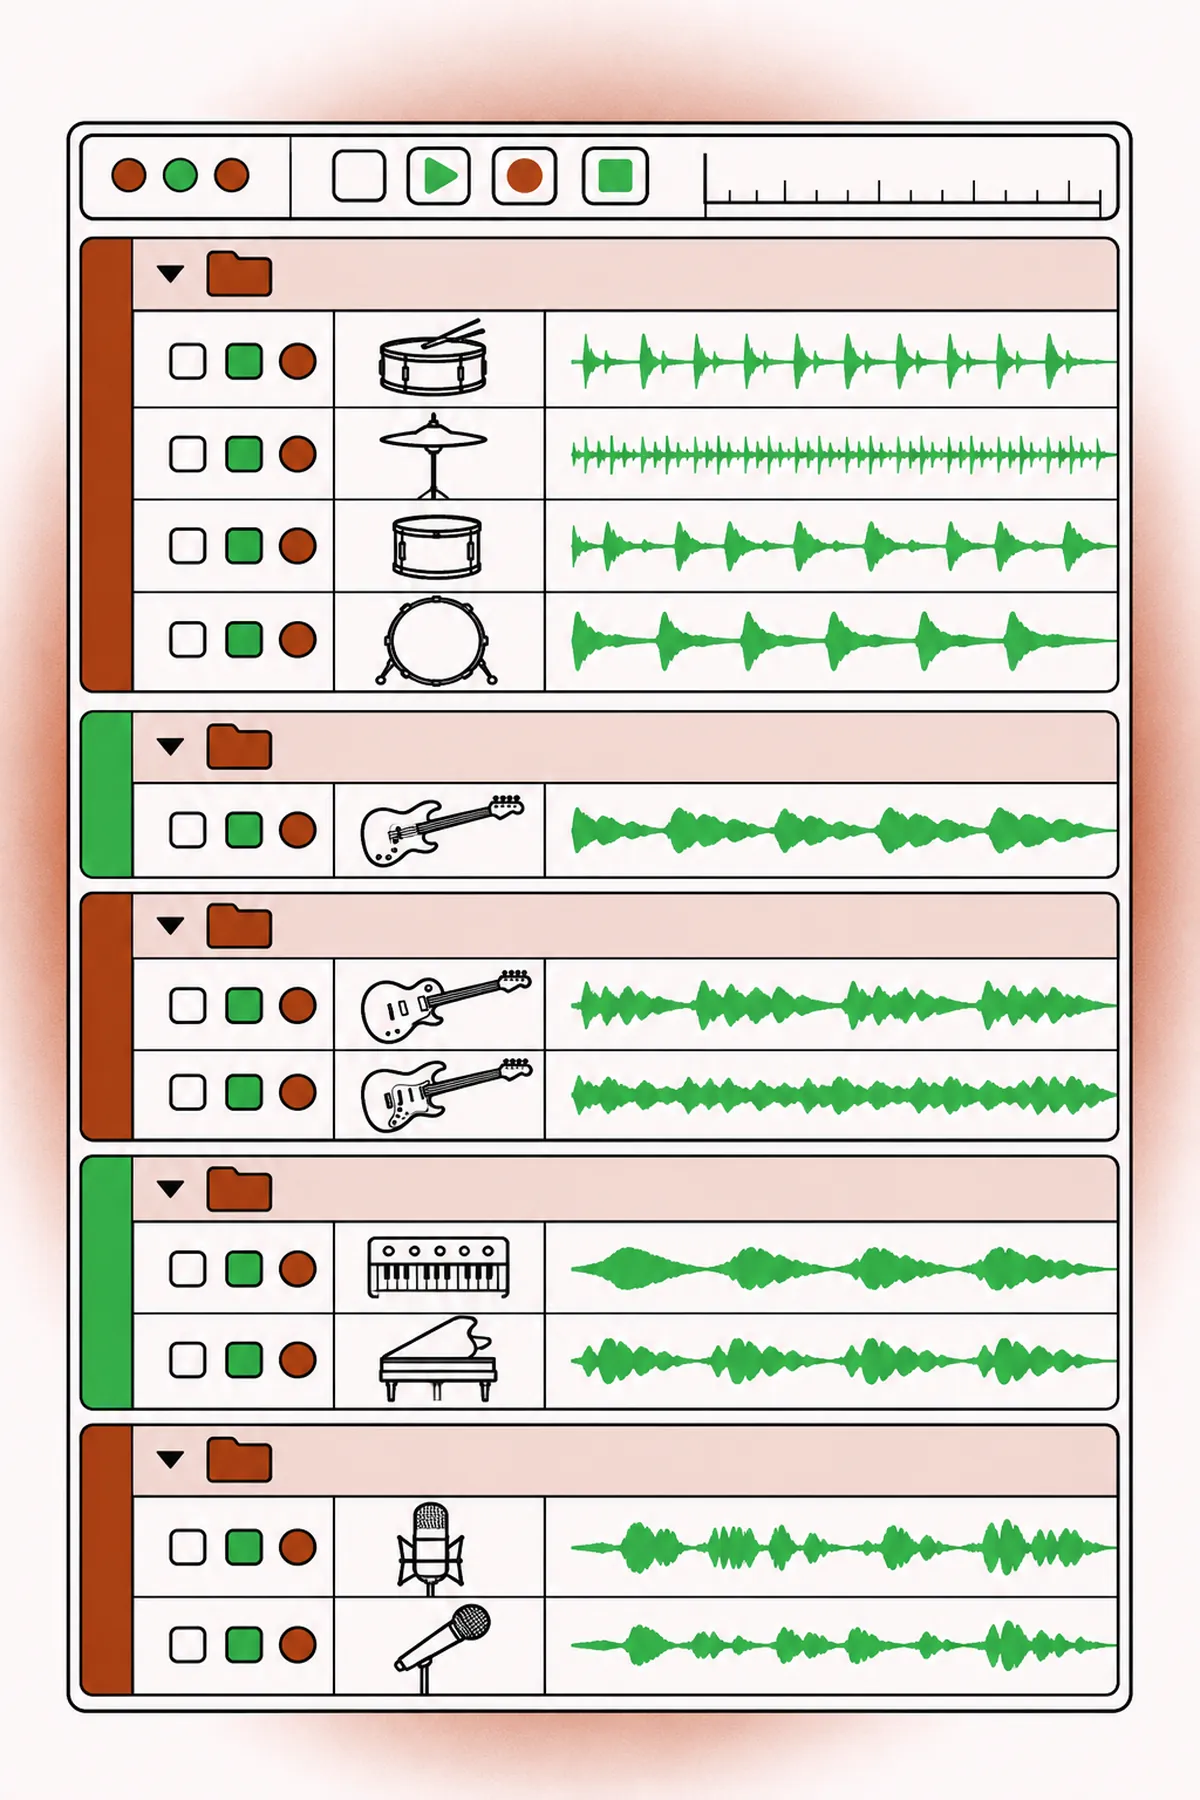
Start by making the session readable at a glance. A session with tracks named "Audio 1" to "Audio 37" slows you down every time you look for something.
Name every track clearly
Use short, consistent names: "Kick In", "Kick Out", "Snare Top", "OH L", "Bass DI", "Gtr L", "Ld Vox". Abbreviations are fine as long as they are your own standard and you use them on every project.
Order tracks in a fixed layout
A common order runs from the bottom of the arrangement to the top: drums, percussion, bass, guitars, keys and synths, backing vocals, lead vocal, then effects returns. Keeping the same order on every song means your hands and eyes know where to go.
Color by group
Give each instrument family one color. When you scan the arrangement, a block of the drum color tells you instantly where the drums play. Avoid using color for anything else, or it loses meaning.
Group and route
Create buses for drums, bass, guitars, keys and vocals, and route the tracks to them. Even if you do not process the buses yet, they give you quick control of each section. Create two or three effect returns at this stage too, for example a short room, a longer plate or hall, and a tempo-synced delay. The guide on reverb types helps you choose which ones to set up.
Clean up
Delete empty tracks, silent regions and obvious false starts. Check that all files are present and at the session sample rate. If the session came from someone else, listen once through every track soloed briefly to spot clicks, noise or missing parts.
2. Set Gain Staging Before Anything Else
Gain staging means setting the level of each track so it sits in a comfortable range for the processing that follows. Digital audio does not care much about level until 0 dBFS, but many plugins, especially those that emulate analog gear, behave as expected only around a certain input level.
A simple routine:
- Use clip gain or a trim plugin at the top of each channel so the track peaks somewhere around -10 to -6 dBFS and its average sits roughly around -18 dBFS.
- Leave faders near 0 dB at this stage, so you have room to move them both ways.
- Check the mix bus. With all tracks playing, peaks around -6 dBFS on the master leave space for the mix to grow.
This prevents the familiar problem of faders all pushed to the bottom with the master still clipping. It also keeps compressor thresholds and saturation drives in a predictable range. The guide on gain staging in the DAW explains dBFS, dBu and plugin sweet spots in more detail.
3. Choose and Prepare References
A reference track is a commercial song in a similar style that sounds the way you want your mix to sound. It anchors your judgment, especially in a home room where the monitoring can mislead you.
How to pick and use them:
- Choose two or three, not ten. One for overall balance, one for low end, one for vocal treatment is a useful split.
- Use good quality files, ideally lossless. A low bitrate file has a dull top end that can mislead your EQ.
- Import them into the session on their own tracks, routed directly to the outputs so they bypass your mix bus processing.
- Match loudness. Commercial masters are much louder than an unmastered mix. Turn the references down until they sit at a similar level on a LUFS meter, often by 8 to 12 dB. Otherwise the reference always sounds better simply because it is louder.
Listen to the references for a few minutes on your monitors before mixing. This recalibrates your ears to the room. Later, when you review your own mix, the same references give you a stable comparison.
4. Build a Rough Balance First
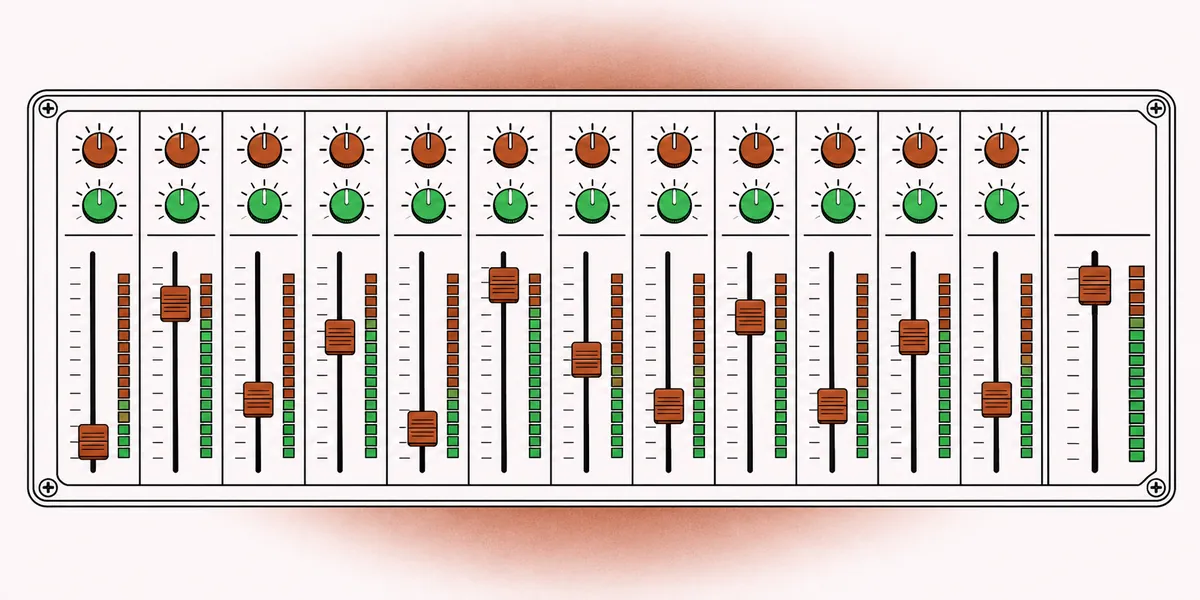
Before any EQ, compression or effects, set faders and pans only. A good rough balance gets you most of the way to a finished mix; the processing that follows adds polish.
Start from the most important element
In most songs this is the lead vocal, or the kick and bass in dance music. Set that element at a comfortable level, then bring the other parts in around it. Ask what each part adds to the song and set its level to match its role.
Pan with intent
A simple approach is LCR: most parts either center, hard left or hard right, with a few in between. Kick, snare, bass and lead vocal usually stay centered. Double-tracked guitars or keys can go wide. The aim at this stage is clarity, not perfection.
Spot arrangement problems early
If two parts fight no matter how you set the faders, the problem is often the arrangement, not the frequency balance. Mute one of them for a moment. If the song still works, consider leaving it out or using it only in some sections. Fixing this with EQ later takes far more effort. The guide on common EQ mistakes covers why EQ is a poor fix for crowded parts.
Save the rough mix
Bounce the rough balance and keep it. Later in the mix, when the details pile up, listening back to the rough can remind you what the song felt like before you started adjusting.
5. Fix Your Listening Level and Plan Breaks
Your ears do not respond the same way at all levels. At high volume, bass and treble seem stronger and everything feels exciting; at low volume, the midrange dominates. If your level drifts during the session, your EQ decisions drift with it.
Pick a reference level
In a small home room, a moderate level around 75 to 80 dB SPL at the listening position is a comfortable starting point. Calibrate it once with pink noise and a sound level meter or a phone app, then mark the position on your monitor controller or interface knob. Return to it each time you make tonal decisions.
Check quietly and loudly, briefly
Most of the mix happens at the reference level. Short checks at a very low level show whether the vocal and the main elements still come through. Short checks at a louder level show whether the low end gets out of control. Keep the loud checks brief.
Take regular breaks
After 45 minutes to an hour of continuous listening, the ear adapts: highs seem duller, so the temptation is to boost them. A break of ten to fifteen minutes resets this. For big decisions, such as overall brightness or vocal level, a night's sleep is the best reset there is.
Putting It Together
A short preparation routine for each new project:
| Step | Main goal | Typical time |
|---|---|---|
| Organize | Readable session | 10-20 min |
| Gain staging | Predictable levels | 5-10 min |
| References | Stable comparison | 5-10 min |
| Rough balance | Song shape | 15-30 min |
| Listening level | Reliable judgment | 2 min |
Once this is done, the mix itself moves faster. EQ choices become more obvious, compression has a clear purpose, and you spend less time undoing your own changes. For mixing on headphones in a room you cannot treat, the same preparation applies; the guide on mixing on headphones adds the points specific to that setup.
Quick answers
Do I really need to rename every track?
Yes. It takes a few minutes and saves much more during the mix, especially when you return to the session days later or someone else opens it.
At what level should tracks sit before mixing?
A common starting point is peaks around -10 to -6 dBFS with an average around -18 dBFS per track, and peaks around -6 dBFS on the mix bus with everything playing.
How many reference tracks should I use?
Two or three is enough. More than that tends to scatter your attention. Match their loudness to your mix before comparing.
Why build a rough mix with no plugins?
Faders and panning solve most balance problems. Starting with them shows where processing is really needed and stops you from fixing things that are not broken.