The SSL-Style Bus Compressor Explained: Controls and Settings
Read this to understand the console bus compressor that shaped decades of pop mixes, set its threshold, ratio, attack and release with intent, and apply it to a mix bus or drum group.
By Delia Marchbanks, in Compression & Dynamics
Few processors have a reputation as specific as the bus compressor built into a certain family of large British mixing consoles from the early 1980s onward. Engineers mixing on those desks found that a couple of decibels of gain reduction across the stereo bus made a mix feel finished, as if the parts belonged together. That effect is usually called glue, and the circuit became so associated with it that hardware copies and software emulations of the design now exist in large numbers.
This guide explains what the circuit is, what each control does, and how to set it. It does not rate any particular emulation. If you understand the original controls, you can work with any version.
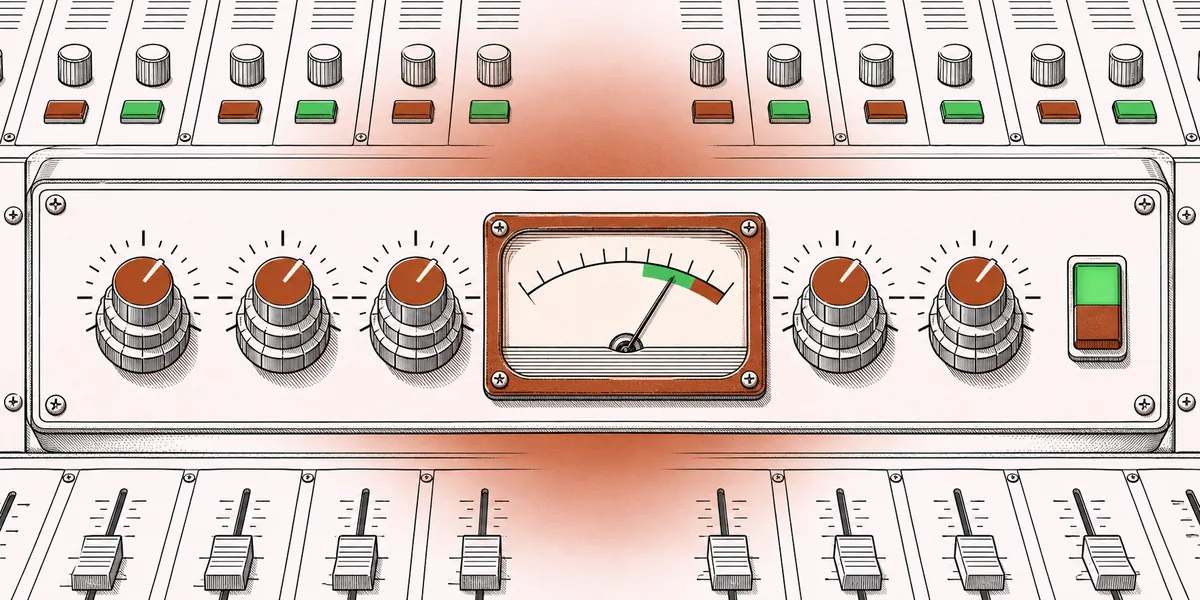
Where the design comes from
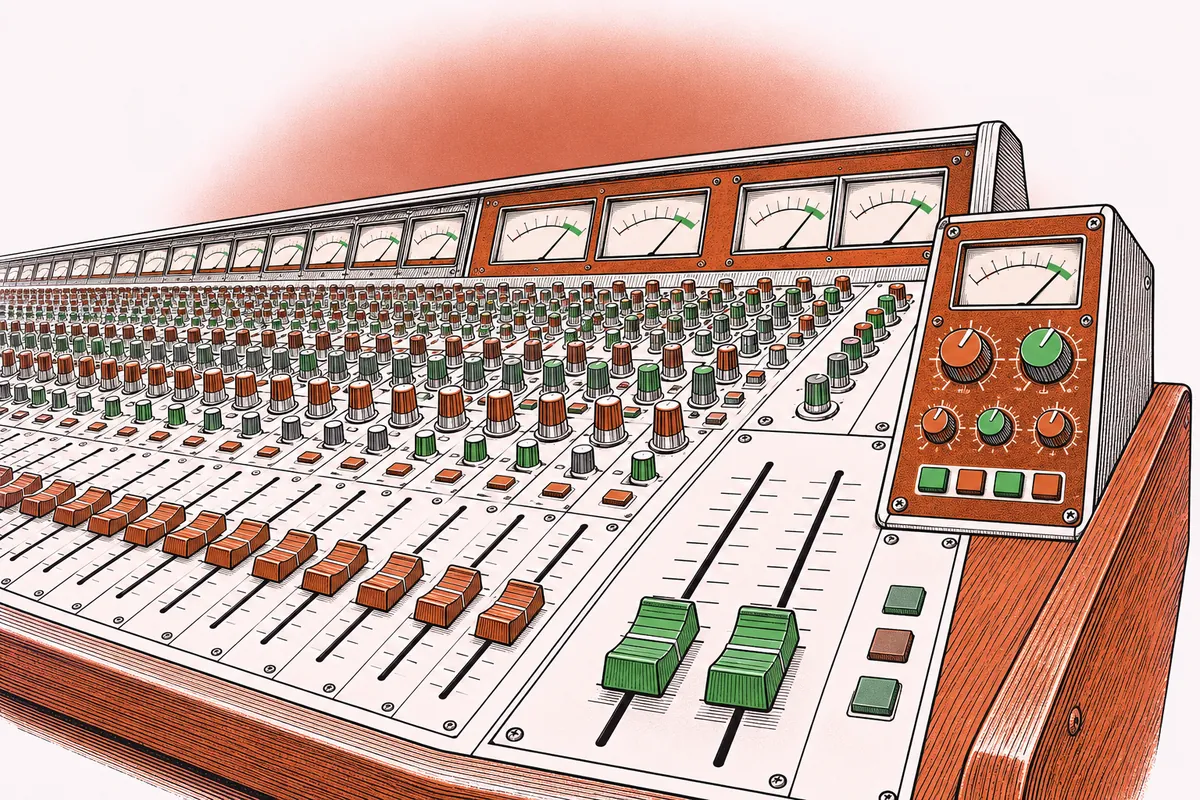
Large-format consoles of that era placed a stereo compressor in the master section, sitting across the main mix bus. On the G-series desks it became a standard fixture. Because it was always there, engineers simply left it on while they mixed, pushing the faders into it and hearing the result in real time. That working habit matters as much as the circuit: the compressor was part of the mix from the first balance, not a last-minute fix.
The circuit uses a VCA as its gain element, which makes it part of the family described in the guide to compressor types. The two channels are linked, so the left and right sides always receive the same gain reduction. That keeps the stereo image steady: a loud hi-hat on the right does not shift the center of the mix to the left.
The controls are stepped rather than continuous. That limits choice, but it also makes settings repeatable and easy to recall, and the chosen values cover the useful range well.
The controls, one by one
Threshold
Threshold sets the level above which compression begins. On many versions it spans roughly plus or minus 15 to 20 dB. Turning it down means more of the signal is above the line, so more gain reduction occurs. On a mix bus, set it so the meter moves gently on the loudest sections.
Ratio: 2, 4 and 10
Only three ratios are offered.
- 2:1 is the mix bus setting. Its soft response at low gain reduction is a large part of the glue reputation.
- 4:1 is firmer and suits drum buses, or a mix bus for denser styles where you want obvious control.
- 10:1 behaves close to a limiter. It is mostly for effect: crushed drum rooms, parallel chains, or catching rare peaks.
Attack: 0.1 to 30 ms
Six steps, typically 0.1, 0.3, 1, 3, 10 and 30 ms. Attack decides how long the compressor waits before clamping down once the signal crosses the threshold.
- 30 ms lets the front of drum hits pass almost untouched, so the mix keeps its punch while the sustained portion is held. It is the most common mix bus choice.
- 10 ms clamps a little earlier and gives a tighter, more controlled feel.
- 0.1 to 1 ms grabs transients and flattens them. On a full mix this usually dulls the drums, but on a drum bus at 4:1 it can produce a dense, smacking sound.
Release: 0.1 to 1.2 s, plus Auto
Fixed steps typically sit at 0.1, 0.3, 0.6 and 1.2 seconds, plus an Auto position.
Auto is program dependent. The circuit combines a fast and a slow recovery, so short peaks release quickly while sustained loud passages release slowly. On a full mix that means sharp snare hits do not cause pumping, but the chorus as a whole is still held together. Most mix bus settings start here.
Fixed releases are useful when you want the compressor to breathe in time with the track. At 120 BPM, one beat lasts 500 ms, so a 0.6 s release recovers roughly in time with the quarter note. A 0.1 s release on a drum bus makes the compression follow each hit, which adds energy and some audible movement.
Makeup gain
Compression lowers the average level. Makeup gain restores it so you can compare fairly. Always match levels before judging the result: a louder mix will almost always seem better for a few seconds, which hides whether the compression actually helps.
In/out and extras
The in/out switch lets you hear the bypassed bus. Some hardware revisions and many plugins add extras such as a sidechain high-pass filter, a mix knob for parallel use, or an oversampling switch. The sidechain high-pass is especially handy: set around 60 to 120 Hz, it stops the kick and bass from driving the compressor, so the low end no longer causes the whole mix to duck.
Starting settings for mix bus glue
| Control | Start here | Adjust if |
|---|---|---|
| Ratio | 2:1 | Want firmer hold: 4:1 |
| Attack | 30 ms | Peaks poke out: 10 ms |
| Release | Auto | Hear pumping: try 0.6 s or 1.2 s |
| Threshold | 1 to 3 dB of reduction on peaks | Meter barely moves: lower it |
| Sidechain HPF | Off or around 90 Hz | Low end makes the mix duck |
Aim for 1 to 3 dB of gain reduction on the loudest parts, with the needle barely moving in quieter passages. More than 4 dB on a mix bus usually starts to flatten the dynamics between verses and choruses.
The most important tip is timing: put the compressor on the mix bus early, once you have a rough balance, and mix into it. Your fader moves will then account for how the bus reacts. Adding it at the very end often shifts the balance, and you end up chasing the change. The guide on mastering at home explains why the mix bus compressor belongs to the mix and should be printed with it, rather than added later in a mastering chain.
Settings for a drum bus
On a drum group the same circuit becomes a punch tool.
- Route the kick, snare, toms, overheads and rooms to a single bus.
- Set ratio to 4:1, attack to 3 or 10 ms and release to 0.1 or 0.3 s.
- Lower the threshold until the meter swings 3 to 6 dB on the loudest hits.
- Listen to the snare. If it loses crack, slow the attack. If the cymbals swell unpleasantly between hits, lengthen the release.
- Use makeup gain to match the bypassed level, then compare.
For more aggressive results, use 10:1 and fast attack on a parallel copy of the drums and blend it under the dry bus. The parallel compression guide shows how to set the blend and keep the copies time-aligned. The kick needs separate care; the kick drum mixing guide covers how bus compression and the kick interact.
Common mistakes
- Too much gain reduction. If the needle sits at 5 dB or more on a mix bus most of the time, the track loses contrast between sections. Back off.
- Fast attack on a full mix. This rounds off every drum transient and makes the mix feel smaller.
- Judging at unequal levels. Bypassing without matching the makeup gain makes the uncompressed version sound weaker even when it is not.
- Low end driving everything. A big kick or sub bass can trigger reduction on each beat and make the whole mix pump. Use the sidechain filter or a gentler threshold.
- Using it to fix balance. Bus compression polishes a good balance. It does not fix a vocal sitting too low or a guitar masking the snare.
About emulations
Many software versions of this circuit exist, from console makers and from third parties, including versions written for older DSP platforms. They differ in how closely they model the detector, the knee, the auto release and the harmonic contribution of the analog stages, and some add features the original lacked. Rather than chase a particular one, learn the controls above, then set any version by ear with matched levels. Stock DAW compressors with a stepped bus mode, or even a clean VCA compressor set to 2:1, 30 ms attack and a medium release, will give a similar job if not the identical character. The guide to free mixing and mastering plugins covers what to look for in any compressor plugin.
If an emulation offers oversampling, enable it on the mix bus when the computer allows. Fast gain changes create harmonics that can fold back as aliasing at lower sample rates.
Quick answers
What is the classic mix bus setting?
Ratio 2:1, attack 30 ms, release on Auto, with the threshold set for about 1 to 3 dB of gain reduction on the loudest sections.
Why is the attack so slow on the mix bus?
A 30 ms attack lets drum transients pass before the compressor reacts, so the mix keeps punch while the sustained energy is held together.
Should the bus compressor go on before or after mixing?
Put it on early, once a rough balance is in place, and mix into it. Adding it at the end tends to change the balance you already worked out.
Can I use it on a vocal or a single instrument?
Yes. The circuit is a general VCA compressor. It works on bass, vocal groups and synths, although the stepped controls are less flexible than a fully variable channel compressor.